Make Your Own Frames |
|
|---|---|
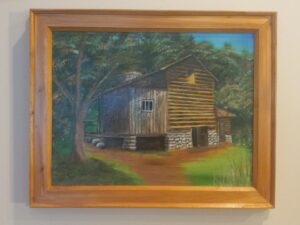
| The frame of a painting is an extension of the artwork and can add a sense of completeness as it literally “frames” the painting and directs the viewing.
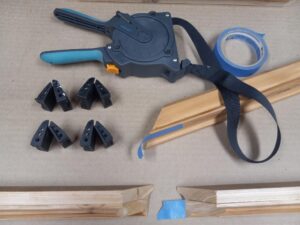
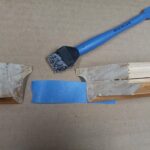
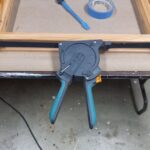
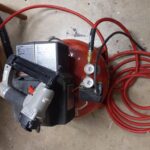
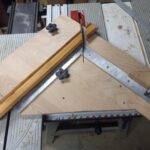
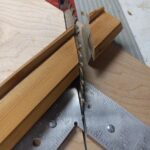
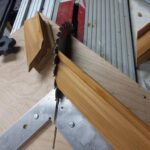
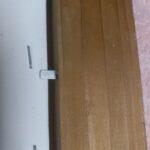
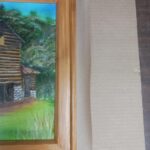
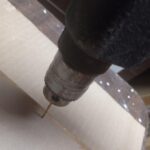
I just finished a rustic painting of a cabin in the Smoky Mountains National Park and thought a finished but unpainted cedar frame would be a nice complement to the logs in the cabin. The first step was to take two 6’ cedar boards from a ceiling done years ago and rip them into four strips on my table saw and then cut them into eight pieces, two for each side and two for the top and bottom of the frame. I took the upper four pieces to my router table and with a cabinet panel bit I cut the inside edges of the frame. I also did the same to the other edge of each piece but then ripped it off with my saw so I had a narrow triangular strip for decoration (red circles). Once done I put glue on each piece, put them together and with my nail gun I fastened them together as seen in the top picture to the right. With a frame jig I made for my table saw, I cut two 45 degree angles in the four pieces and laid them out on the table. I glued each end using a glue brush where the glue doesn’t stick to the brush and with the aid of a piece of blue tape I joined the edges all the way around. Next I put a frame belt and corner braces around the outside edge and tightened the belt to make a solid joint. I knew I was going to finish the frame after assembly so I took a short cut on reinforcing the corners and just used my nail gun to drive two nails at 90 degree angles into each corner. There are other tools such as corner braces if all finishing takes place before assembly. After filling the holds and touching them up with a little burnt umber, I applied the first two coats of polyurethane giving each coat two hours to dry outdoors in the sun and breeze. A damp cloth removes the white residue and after drying, a final coat of polyurethane was applied. The frame is now finished and ready for inserting the painting, dust cover, hangers and bumpers. |

|
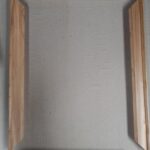
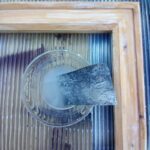
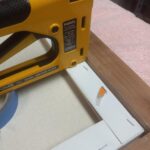
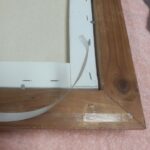
| Insert the painting face down into the back of the frame. With the use of a framing stapler, insert the metal points that secured the painting in the frame.
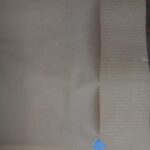
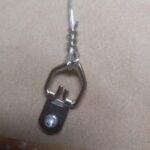
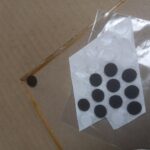
Next place a ring of double-sided tape around the outside of the frame about 1/4” from the edge. Cut a piece of brown wrapping paper larger than the frame and taped it to a table top. Take the frame with painting and gently set it on the paper right-side up. Push down to make firm contact between the wrapping paper and the frame. A handy tool is the dust cover trimmer. It lets you quickly trim off the excess wrapping paper and leaves you with an neat dust cover over the back of the painting and frame. The wire should pass through the hanger twice in a clove hitch like knot and then wrap around the main wire. This will prevent it from slipping and the painting falling off the wall. The painting is now completed and ready to hang!
|

|